
Retrofit®
Boards
Retrofit® boards can be easily mounted over previously installed framed boards without removing them. Installation can be done in minutes. This innovative board design, offers a perfect solution for covering existing boards.
DETAILS:
- Face panel: Polyvision e3 Ceramic Steel in low gloss standard or high gloss
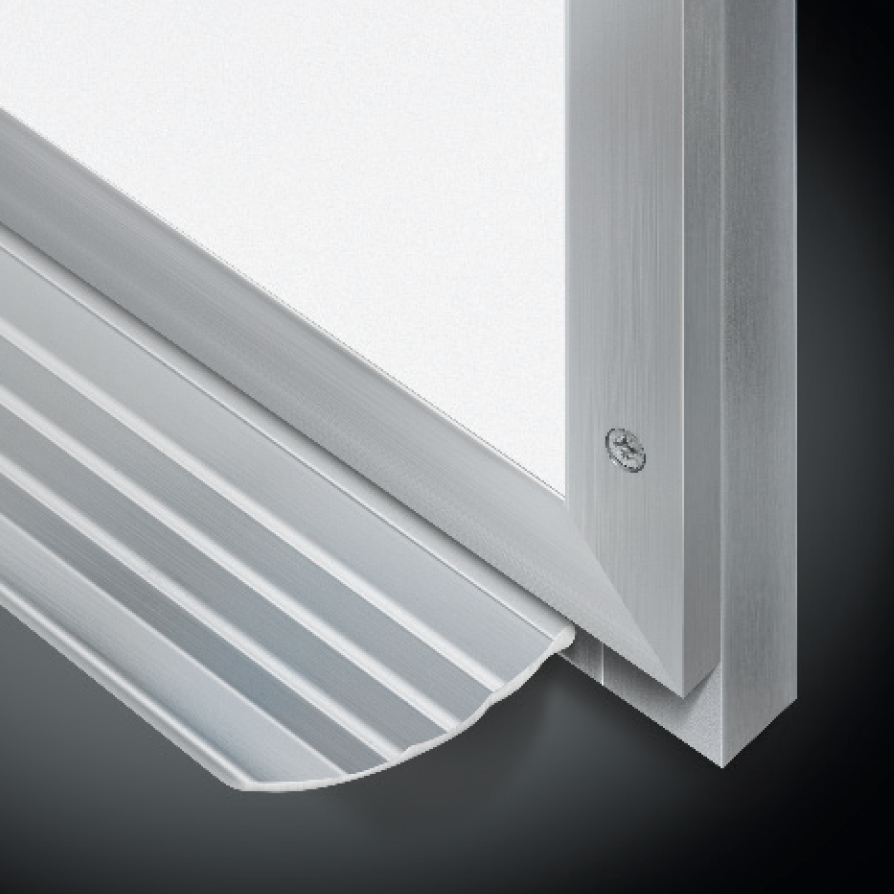
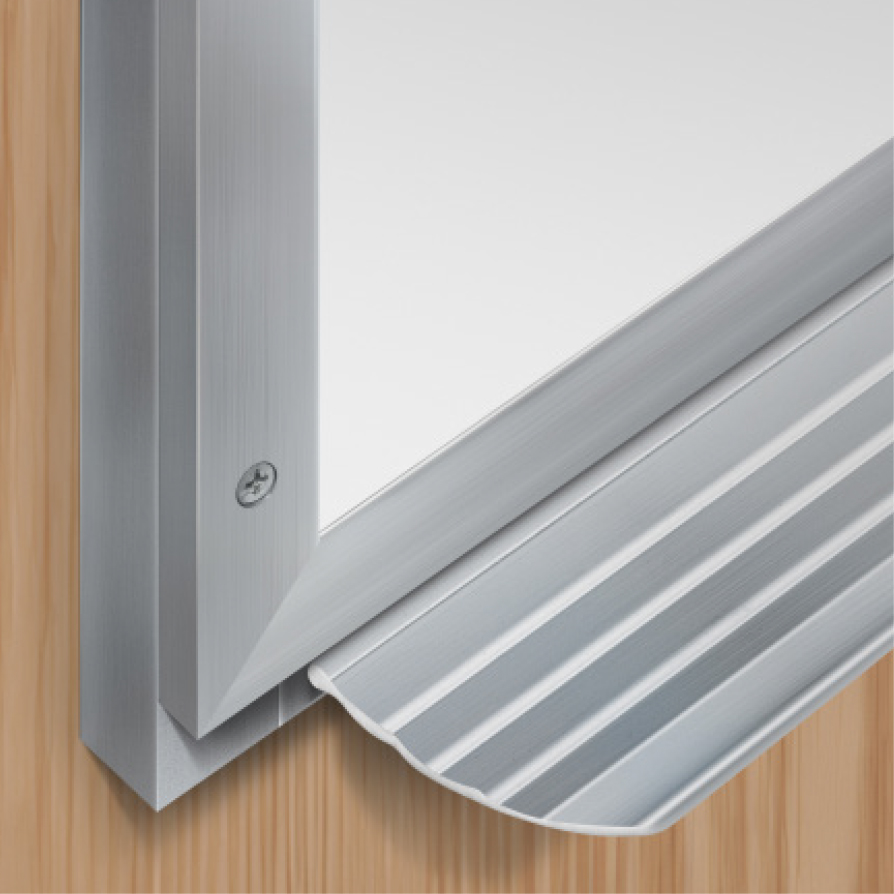
- 1″ aluminum trim face
- 1/4″ substrate
- Factory drilled counter sunk holes
- To determine height, measure from the top of the existing board to the top of the existing tray
- To determine width, measure from the outside edge of the left side of existing board to the outside edge of the right side
DIMENSIONS:
Available in the following sizes:
- Width: 3′ to 12′
- Height: 2′ to 5′
Installation

Prepare the surface of the existing board by thoroughly cleaning it of dirt, dust, or grease. Apply construction adhesive to the surface of the existing board in golf-ball size amounts every 16" in height and every 24" in length.
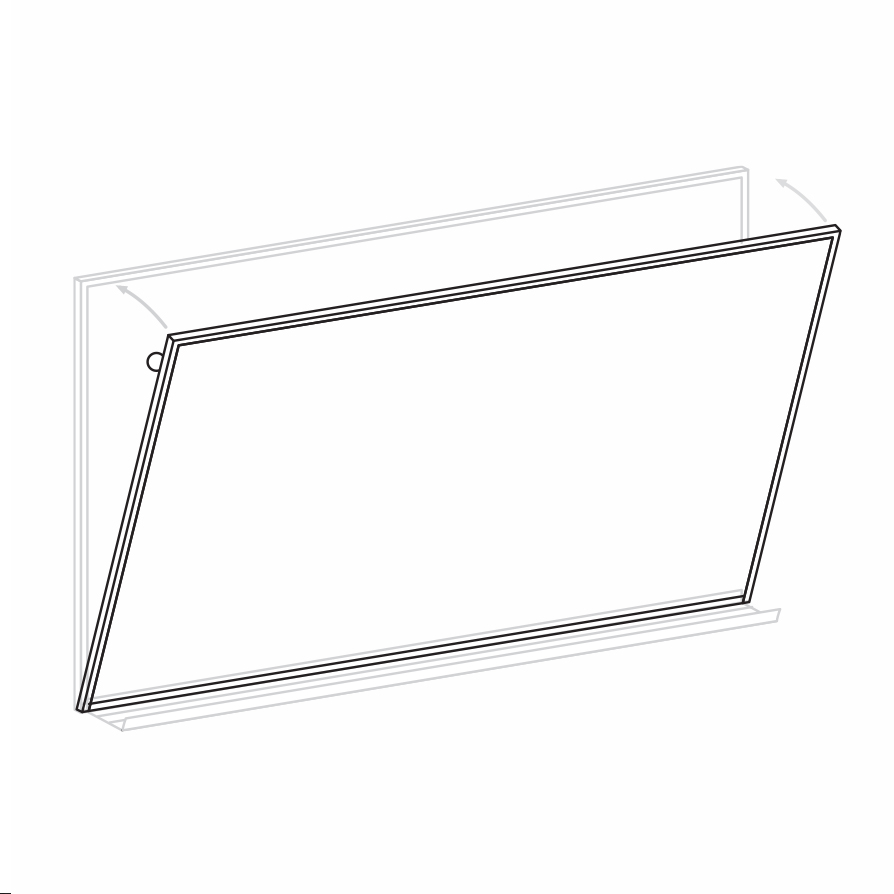
Position the new board carefully over existing board, and press firmly in the locations of the adhesive.

Install the self-tapping screws (supplied with the board) through the pre-drilled holes in the trim. Clean the board thoroughly before using. See markerboard care and maintenance instructions.
Surface Options
Gloss Markerboards

White 29
High Gloss
White 29L
Low Gloss
Ultra Matte Porcelain

Green 06
Ultra Matte

Black 11
Ultra Matte
High and low gloss boards to be used with dry-erase markers.
Ultra matte porcelain for use with chalk.
Due to variance among color monitors the colors that appear on your screen may not be exact.
If color is important you must request samples prior to ordering.


